Edison LED Lighting

Projects
How to Choose the Best Ceiling Panel Light in 2026?
Choosing a Ceiling Panel Light in 2026 is not just a matter of picking a shape that fits the ceiling. The right choice depends on room size, ceiling height, daily tasks, and the existing wiring. A bright panel can still feel harsh. A warm one may look comfortable but leave a work surface dim.
The International Energy Agency reports that building operations accounted for about 30% of global final energy consumption in 2022. That figure covers whole buildings, not lighting alone, but it puts efficient lighting decisions in context. For a fair comparison, check a panel’s lumens, watts, and efficacy rather than relying on wattage or product claims. Also review color temperature, color rendering, glare control, dimming compatibility, and the expected lifetime. Small details matter. A panel that flickers on a dimmer or creates glare across a desk can disappoint, even when its specifications look strong.
This guide explains how to match a panel to the room, compare product specifications, and spot trade-offs before buying. Look for test information and warranty terms, and confirm that installation suits your ceiling and electrical setup. Manufacturer data is useful, but it may not reflect every room. That is easy to overlook. IEA’s 2023 energy analysis offers a broad efficiency backdrop; product-level testing and careful on-site checks are still needed for a confident choice.
What Ceiling Panel Lights Are and How They Work
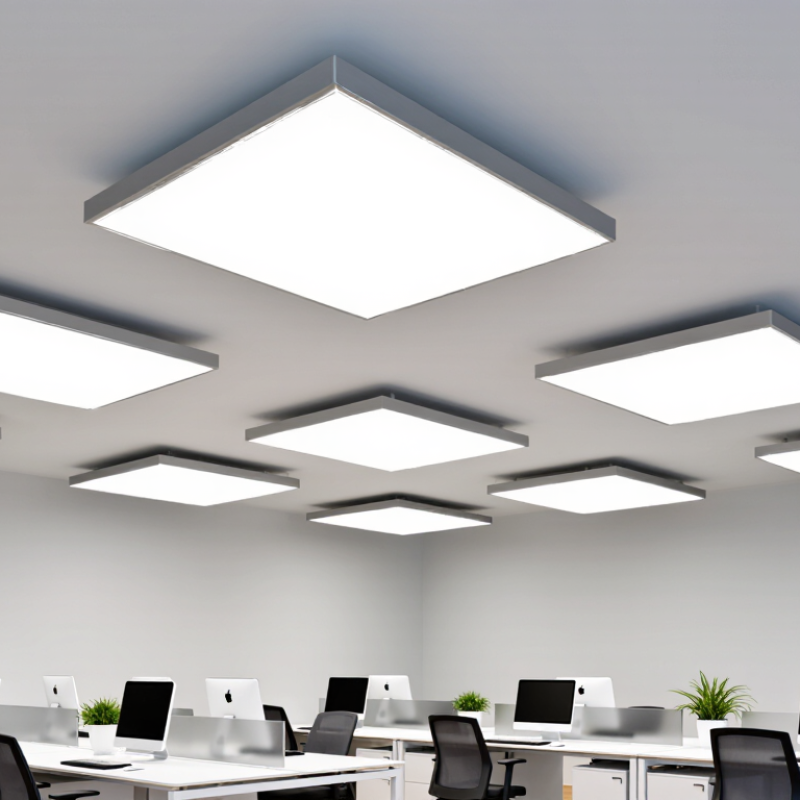
Ceiling panel lights are flat LED fixtures designed to spread light across a broad surface. Many use rows of LEDs behind a diffuser, a translucent layer that softens bright points and reduces harsh shadows. The result is broad, even light. Panels may sit in a suspended ceiling, fit a recessed opening, or mount directly to a solid ceiling. Their slim shape can work well in kitchens, offices, and hallways where a pendant might feel bulky.
Inside the fixture, a driver regulates incoming electrical power for the LEDs. The LEDs convert that power into light, while the diffuser helps distribute it across the room. When comparing panel lights in 2026, check the lumen output, color temperature, color rendering, and dimmer compatibility. A 4000K tone can feel crisp in a work area, while 3000K often feels warmer at home. Color rendering matters too: a high CRI can make food, fabric, and paint appear more natural. A panel can still look too clinical if its color is poorly matched to the room.
Tips: Measure the ceiling opening before buying, and confirm the panel’s mounting method. Check that the driver supports your dimmer. If possible, view the light in person; online specifications cannot show how it feels at night. I once underestimated glare from a glossy desk. It was a small detail, but worth reconsidering.
How to Choose the Best Ceiling Panel Light in 2026? - What Ceiling Panel Lights Are and How They Work
| Dimension | What It Means | Typical Options or Range | How to Choose |
|---|---|---|---|
| What a ceiling panel light is | A flat, broad-area LED luminaire designed to distribute light across a ceiling opening or surface. | Common formats include square and rectangular panels. | Check the ceiling grid or mounting surface first, then select a panel that fits the space and installation method. |
| How an LED panel works | An LED driver supplies controlled electrical power to LEDs. Optical components spread and diffuse the light to create a more even illuminated surface. | Edge-lit panels generally guide light from LEDs around the panel edges; back-lit panels position LEDs behind the diffuser. | Compare light distribution, construction, and product test data rather than assuming one design is always better. |
| Common panel sizes | Physical dimensions determine whether a panel fits a ceiling grid or available mounting area. | Common metric formats include 300 × 300 mm, 300 × 600 mm, 600 × 600 mm, and 600 × 1200 mm. Availability varies by market. | Measure the opening and confirm the actual product dimensions. Nominal grid size and finished panel dimensions may differ. |
| Light output | Luminous flux, measured in lumens (lm), describes the total visible light emitted by the fixture. | Output varies by size and model; compare the stated lumens rather than wattage alone. | Estimate the required room lighting level and account for room size, ceiling height, task, and the number and placement of fixtures. |
| Energy efficiency | Luminous efficacy, measured in lumens per watt (lm/W), indicates how much light a fixture produces for its electrical power. | Calculate efficacy by dividing the stated lumens by the stated input watts. | Compare products at similar light output and check that the figures refer to the complete fixture, not just the LED chips. |
| Color temperature | Correlated color temperature (CCT), measured in kelvins (K), describes whether white light appears warmer or cooler. | Common choices include 3000 K (warm white), 4000 K (neutral white), and 5000–6500 K (cooler white). | Choose a color appearance suited to the room and coordinate it with other lighting. Selectable-CCT models offer flexibility when properly configured. |
| Color rendering | Color Rendering Index (CRI or Ra) indicates how faithfully a light source renders colors compared with a reference source. | CRI 80 or higher is common for general lighting; CRI 90 or higher can be useful where color appearance matters. | Check the specified CRI and, for color-critical work, look for additional color-rendering information such as R9 when available. |
| Glare and visual comfort | Glare depends on panel luminance, viewing angles, room layout, and surrounding surfaces. | Some office lighting specifications use a Unified Glare Rating (UGR) target, such as UGR < 19, under defined conditions. | Use a UGR value only when supported by a calculation for the actual room and installation; it is not a universal fixture-only rating. |
| Dimming and controls | The driver and control system determine whether light output can be adjusted and which controls are supported. | Options can include non-dimmable drivers, 0–10 V, DALI, or phase-cut dimming, depending on the product and market. | Confirm that the panel driver, control, wiring, and any building system are compatible. Dimming methods are not automatically interchangeable. |
| Installation method | Panels may be designed for recessed, surface-mounted, or suspended installation. | Mounting accessories and ceiling compatibility differ by model. | Verify the installation type, available ceiling depth, required accessories, and applicable electrical and building requirements. |
| Lifetime and warranty | Rated life is usually a manufacturer-declared estimate based on specified operating conditions; it is not a guarantee that every fixture will last that long. | Review the stated lifetime metric, warranty term, and any conditions or exclusions. | Compare warranty coverage and serviceability alongside rated life, especially for installations where replacement access is difficult. |
Selection tip: Start with fit and installation, then compare delivered lumens, color quality, glare, control compatibility, and operating cost for the intended room.