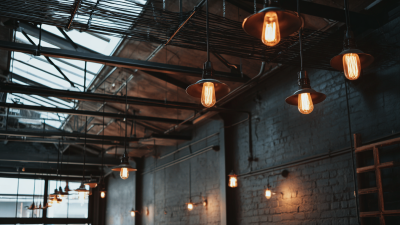
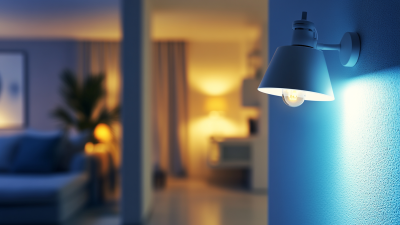
Choosing the best Shop Lighting is not just a matter of choosing bright bulbs. It means helping customers see products clearly, move comfortably, and notice the details that make each item appealing. A warm pool of light on a wooden display can feel inviting, while a harsh glare on glass may send shoppers looking elsewhere. Small choices matter.
Lighting designer Randall Whitehead is known for his work on architectural lighting. As a practical paraphrase, not a verbatim quotation: “Good retail lighting draws attention to the merchandise, not the fixtures.” That idea is a useful starting point, though no single rule fits every store. A grocery aisle, clothing boutique, and electronics shop each need different color quality, brightness, and beam placement.
This guide will help you compare ambient, accent, and task lighting, then consider color temperature, color rendering, energy use, and fixture placement. You will also learn what to check before buying: ceiling height, window light, display surfaces, and the way customers actually move through the space. Stand at the entrance. Look at the shelves. Does the lighting reveal product colors accurately, or wash them out? Even a careful plan can miss something; test a small area before changing the whole store. That extra step takes time. It can prevent costly mistakes. Shop Lighting works best when it serves both the merchandise and the people browsing it.
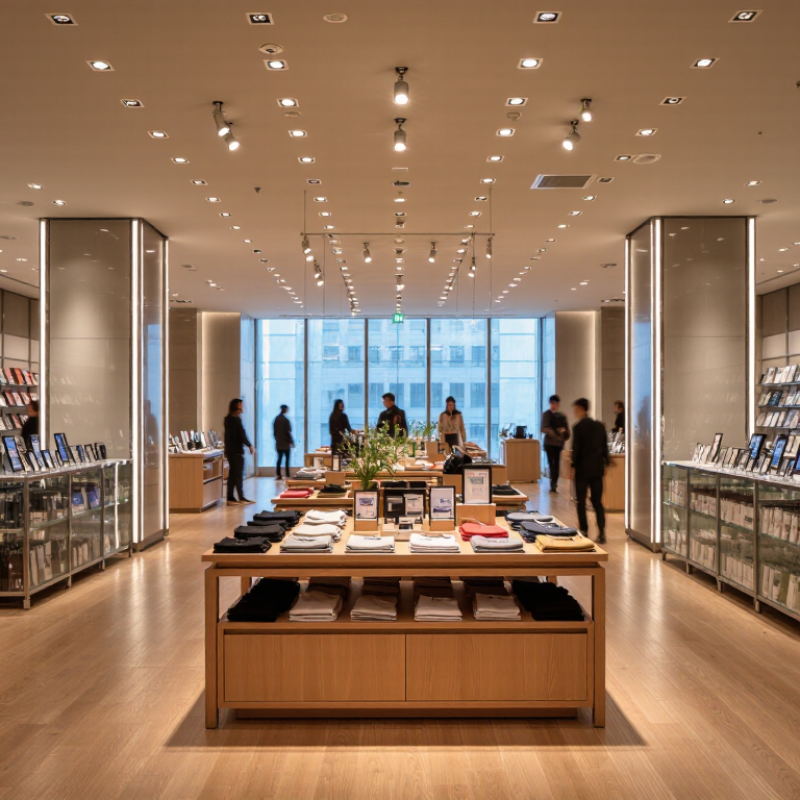
Understanding the Role of Lighting in a Retail Store
Lighting does more than help shoppers see products. It guides attention, shapes how colors and textures appear, and affects whether a space feels calm or energetic. A warm pool of light over a wooden display can make its grain visible, while harsh glare on a glass case may send shoppers past it. Even so, brighter is not always better. Contrast and placement matter.
The U.S. Department of Energy reports that lighting uses about 17% of the electricity consumed in U.S. commercial buildings. That makes lighting both a customer-experience decision and an operating cost. In practice, stores often combine ambient light for general visibility with focused lighting on shelves, signs, and feature displays. Check product colors under the actual fixtures; a shirt that looks true near the window may appear different under ceiling lights. A simple evening walk-through can reveal dark corners and distracting reflections. One imperfect detail: staff may adapt to a dim aisle and stop noticing it. Ask someone unfamiliar with the store to walk the route and describe what catches their eye. That feedback can be more useful than adding another row of fixtures.
Before choosing fixtures, map how shoppers move through the store. Mark the entrance, checkout, narrow aisles, and places where customers pause. Note ceiling height and shelf depth; a bright center can still leave products in shadow. Look up, too. Tall shelves may block light from ceiling fixtures, while glossy floors can create distracting glare.
Match the lighting to the products and the work customers do. Clothing often benefits from even light and color that looks natural, while packaged goods need clear labels and readable details. A focused beam can draw attention to a display, but too many bright spots make a small store feel uneven. Use softer ambient light for general visibility, then add task or accent lighting where it serves a clear purpose. Small details matter.
Check the actual space before committing. Compare light levels near the entrance, on shelves, and at the checkout, ideally during both daytime and evening hours. A light that looks pleasant on a showroom sample may feel harsh against your own walls. That judgment can be wrong. Test a fixture in place, observe how colors appear, and ask staff where shadows make routine tasks harder. Adjustments are normal; the first plan rarely gets every corner right.
| Store Area or Product | Layout and Task Needs | Suggested Ambient Illuminance | Accent Lighting Approach | Color Quality and Appearance | Practical Fixture Considerations |
|---|---|---|---|---|---|
| Entrance and window display | Make the storefront easy to notice and create a clear view into the shop. Avoid glare on glass and keep displays visible from outside. | About 300–500 lux on display surfaces; adjust for daylight and viewing distance. | Use focused, adjustable spotlights to highlight featured products. Keep accent light brighter than the surrounding display without creating harsh contrast. | Choose a color temperature that suits the merchandise and looks consistent with the interior. A CRI of 90 or higher can help colors appear more accurately. | Use aimable fixtures and shielded optics. Check the display at night and during daylight to identify reflections and dark patches. |
| Main sales floor and aisles | Provide even light for browsing, safe movement, and clear visibility of signs. Plan fixture placement around shelves and customer routes. | About 300–500 lux on the floor and merchandise, with higher levels where detailed viewing is needed. | Use accents selectively at feature tables, end displays, or new-arrival areas rather than highlighting every fixture equally. | A CRI of at least 80 is commonly suitable for general retail; consider 90 or higher where product color is important. | Choose a distribution pattern that limits dark gaps and glare. Confirm that shelves do not block light from reaching lower products. |
| Clothing and fitting rooms | Customers need to assess garment color and fit. Provide balanced light on faces and clothing, including from more than one direction. | About 300–500 lux in the fitting room, measured at the relevant viewing surfaces. | Use soft vertical illumination near mirrors to reduce strong facial shadows. Avoid relying on a single bright ceiling source. | Use a consistent color appearance throughout the shopping and fitting areas. A CRI of 90 or higher is a useful target for color-sensitive merchandise. | Select diffused, glare-controlled fixtures. Test the mirror under the actual lighting and check that garments do not appear noticeably different from the sales floor. |
| Jewelry, watches, and small accessories | Support close viewing of small details while keeping display cases legible and comfortable to look at. | About 500–1,000 lux at display surfaces, depending on the display, material, and ambient light. | Use narrow or adjustable beams to create sparkle and visual focus. Aim carefully to prevent reflections in glass cases. | High color fidelity is important; consider a CRI of 90 or higher. Select a color temperature that complements the materials without distorting their appearance. | Use low-glare optics and check for heat buildup inside enclosed cases. Ensure lighting does not create distracting reflections for customers or staff. |
| Fresh food, produce, and bakery | Make freshness, texture, and product color easy to judge. Provide useful light across shelves and display counters. | About 300–750 lux on merchandise, adjusted to product type and display conditions. | Use carefully aimed accent light on focal displays, while keeping surrounding products visible and avoiding exaggerated color effects. | Use good color rendering so food looks natural. Choose a consistent color temperature across related displays. | Consider cleanable, suitably rated fixtures for the environment. Follow applicable food-safety and equipment requirements, especially near refrigerated or damp areas. |
| Electronics and product demonstration areas | Support reading labels and inspecting controls while minimizing reflections on screens and glossy surfaces. | About 300–500 lux for general browsing; use task lighting where customers inspect small controls or printed details. | Highlight demonstration units without directing bright beams toward screens or customer sightlines. | A CRI of 80 or higher is generally suitable; use higher color fidelity when accurate product colors are central to the purchase. | Use controlled distribution and test reflections from normal customer positions. Coordinate light levels with display screens and demonstration content. |
| Checkout and service counter | Support payment, packaging, reading small text, and clear communication between staff and customers. | About 300–500 lux at the counter, with task lighting added if detailed work requires it. | Keep the counter visually clear without making it much brighter than the surrounding sales floor. | Use comfortable, consistent light with good color rendering so cash, packaging, and documents are easy to distinguish. | Position fixtures to limit glare on screens and glossy counter surfaces. Check for shadows cast by staff or shelving. |
| Stockroom and back-of-house work area | Provide practical visibility for finding stock, reading labels, and handling goods safely. | About 200–300 lux for general storage; provide higher task levels where sorting or detailed work takes place. | Prioritize uniform coverage over decorative accent lighting. | A CRI of 80 or higher is generally adequate for routine storage and handling tasks. | Use durable fixtures suited to the room conditions. Keep light sources clear of high shelving and confirm that aisles and work surfaces are not left in shadow. |
Choosing a light source affects comfort, operating costs, and how products appear. LED fixtures use less energy than many older lamps and provide instant light. They also come in different beam angles, which matters when illuminating narrow shelves or a wide sales floor. Fluorescent lamps can spread light evenly, but older fixtures may flicker or perform poorly when dimmed. Check compatibility before replacing lamps. Small details matter.
Color temperature changes the store’s mood. A warm 3000K light can make wood, clothing, and home goods feel inviting, while neutral 3500K–4000K light often suits general retail displays. For items where color accuracy matters, look for a high color-rendering index, ideally 90 or above. A bright display can still look wrong if reds appear dull or whites seem blue. Test samples under the actual fixtures; photographs can mislead.
Brightness should match the task, not just the room size. Use even ambient light for aisles, then add focused fixtures above signs, counters, or detailed merchandise. Measure illuminance at shelf level where possible, and watch for glare on glossy packaging. More light is not always better. I have seen a carefully lit counter lose its appeal when a ceiling fixture reflected directly into customers’ eyes. Ceiling height, wall color, and daylight all change the result, so one recommended number rarely fits every shop. A small trial area can reveal problems before a full installation.
Plan fixture placement around what customers need to see, not just ceiling symmetry. A neat grid can still leave a dark checkout counter or cast shadows across a product display. Aim some light toward vertical surfaces, including shelves and signs, so merchandise remains clear from the aisle. Keep fixtures clear of tall shelving where possible, and check sightlines from the entrance and counter. Glare matters. A bright lamp reflected in a glass cabinet can hide the item behind it.
Use separate lighting zones for the sales floor, checkout, display areas, and back rooms. This lets staff adjust one area without changing the whole store. Dimmers are useful near windows, where daylight shifts during the day. Occupancy sensors can suit storage rooms, but avoid settings that leave customer areas unexpectedly dim. Control compatibility should be checked before fixtures are installed; not every lamp works well with every dimmer. Small detail, big headache.
Test the layout after dark and during busy hours. Look at the floor, faces, labels, and the undersides of shelves. A paper plan rarely shows every shadow, and I still find this easy to misjudge. Move a fixture or adjust its angle before committing to the full installation. Keep control switches labeled clearly, so staff can make routine changes without guessing.
A good shop lighting plan starts with the work customers and staff actually do. Compare fixtures by light output and energy use, not wattage alone. For example, a bright aisle may need fewer well-positioned lights than a dim one with poor coverage. Dimming controls can reduce use during quiet hours, but only if staff can operate them easily. The cheapest option can cost more over time if it needs frequent replacement. Small details matter.
Safety deserves equal attention. Check that fixtures suit the ceiling height, temperature, and conditions in each area. Dusty stockrooms or damp cleaning zones may need appropriately rated fittings. Keep lights clear of stored materials, and avoid glare on glossy packaging or checkout screens. A qualified electrician can confirm wiring, mounting, and emergency-lighting needs for the site. It may feel like an extra step, but guessing here is not a useful shortcut.
Maintenance affects both costs and comfort. Choose fittings that can be cleaned and serviced without moving heavy shelving or closing a busy aisle. Ask how long replacement parts are expected to remain available, and check whether lamps or drivers can be changed separately. Keep a simple log of failures and cleaning dates; it can reveal patterns that estimates miss. I would still revisit the plan after opening, because real customer traffic rarely follows the neat layout on paper. That takes time.
WhatsApp us