Choosing Home Lighting in 2026 is less about buying the brightest fixture and more about making each room work for real life. A kitchen needs clear light on a chopping board; a living room may need softer light near the sofa and a reading lamp within reach. Lighting designer Richard Kelly is widely associated with the phrase, “Light is the magic ingredient that makes or breaks a space.” It remains a useful reminder: even beautiful furniture can feel flat under harsh, poorly placed light.
This guide explores how to balance ambient, task, and accent lighting, then choose fixtures, bulbs, and controls that suit your home. It also considers practical details, such as warm or cool color appearance, brightness, energy use, dimmer compatibility, and smart-home features. Check product specifications before buying; two bulbs labeled “dimmable” may not behave equally with the same switch. Small details matter. A pendant can look perfect in a photograph yet cast a shadow over the counter. A smart bulb can add convenience, but only if its app and connection suit your household. There is no single ideal setup for every room, and some advice may need adjusting for older homes or changing routines. The aim is a thoughtful plan—not a showroom look—built around comfort, visibility, and the way you actually use each space.
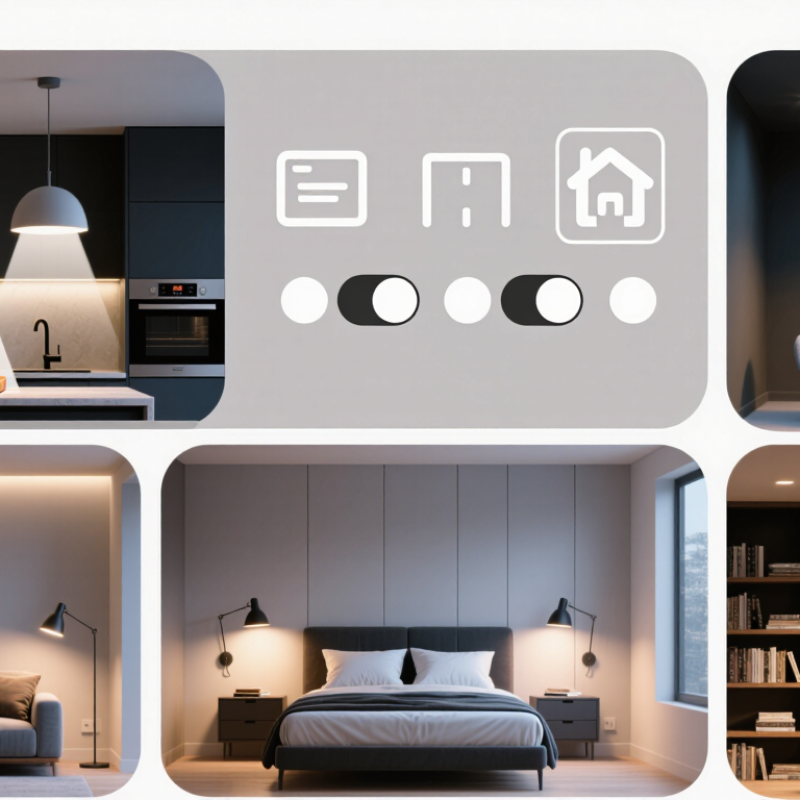
Assess lighting room by room, not by bulb count. In 2026, start by listing what each space needs: reading, cooking, working, relaxing, or moving safely at night. At a kitchen counter, chopping needs clear, even light; a pendant that leaves your hands in shadow is not enough. Check daylight in the morning and evening. Note dark corners, screen glare, and switches that are awkward to reach. Small details matter. A light meter can help, but phone apps are rough guides; readings change with angle and window light.
The IEA’s Energy Efficiency 2017 report estimates that lighting uses about 15% of global electricity. That figure is not a target for every home, but it shows why efficient choices matter. U.S. Department of Energy Energy Saver guidance says LEDs use at least 75% less energy and last up to 25 times longer than incandescent bulbs. Efficiency alone is not comfort. Match light to the task, and check whether a fixture produces glare or harsh shadows. Warm light may feel calmer in a bedroom; a focused, brighter source can help over a desk. Test dimmers with the bulbs you plan to use. I used to assume one bright ceiling fixture could do everything. It usually cannot.
Compare brightness by lumens, not watts. Watts describe energy use; lumens describe visible output. For a kitchen counter, a bright, focused beam may work better than one ceiling lamp. Check efficacy, measured in lumens per watt, but do not treat the highest figure as automatically best. Glare matters.
Color temperature, listed in kelvins, affects how a room feels. Warm light often suits bedrooms; cooler light can help with detailed tasks. Compare color rendering too, especially the R9 value if rich reds matter in food or artwork. A high general color-rendering score can still hide weak red tones. Look closely.
Dimming and flicker deserve practical checks. A lamp may dim unevenly or buzz with an incompatible control, so verify compatibility and test the lowest setting before buying several. For wet rooms, check the fixture’s IP rating and placement guidance. Also look for recognized electrical-safety certification and current regional energy-efficiency information. Smart lights should state which control systems they support and what happens during an internet outage. These details can be tedious. I would still compare them, because a technically efficient light that feels harsh or behaves unpredictably is not a good fit.
Match light to the work, not just the room’s name. In a kitchen, broad ceiling light helps you move safely, while focused light over the counter makes chopping easier. Aim it to reduce shadows from your hands. Small detail, big difference. A neutral-white source can keep food colors readable, but test it beside your cabinets before buying several bulbs.
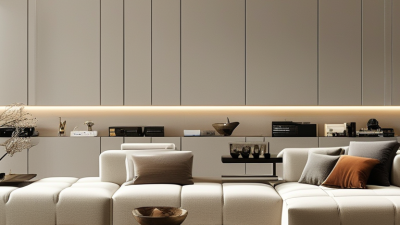
In a living room, combine soft ambient light with a reading lamp near the chair. The lamp should brighten the page without shining into your eyes. For movie nights, dimmable fixtures offer flexibility, though dimmers and bulbs must be compatible. Compare lumens, not watts, when judging brightness. Color temperature also changes the mood; a warm tone usually feels gentler in the evening.
Bedrooms benefit from calm, low-glare light, plus a bedside lamp you can reach without getting up. In bathrooms, place even light near the mirror so it does not cast deep shadows across the face. Check that fixtures are rated for their location, especially near moisture. I’ve found that one ceiling fixture rarely handles every task well. I still misjudge brightness sometimes, so try one bulb first and live with it for a few evenings. Small adjustments matter.
How to Balance Light Quality, Energy Use, and Budget
Good home lighting balances comfort, task needs, and running costs. Start with lumens, which measure brightness, rather than watts. A desk may need focused light, while a hallway usually needs less. At the kitchen counter, place light where hands and chopping boards won’t cast shadows.
Color matters, too. Warm 2700–3000 K light often feels relaxed in living spaces; neutral white can suit kitchens and work areas. Check the color rendering index (CRI) for rooms where accurate color matters, such as near a mirror. If possible, test one bulb at night. Product labels can’t show how light will feel against your paint.
LEDs can lower energy use, but compare the purchase price with expected operating hours and your electricity rate. The U.S. Department of Energy’s LED Lighting guidance says LEDs use at least 75% less energy and can last up to 25 times longer than incandescent bulbs. ENERGY STAR’s lighting guidance also reports substantial savings from certified LEDs compared with traditional bulbs. A dimmer may help, but only when it is compatible with the bulb. Small details count. I’ve found that buying every bulb at once can be a mistake; a sample bulb may reveal glare or an unwanted color before the full room is fitted.
Choose controls before choosing fixtures. A wall dimmer, occupancy sensor, and phone-based control solve different problems. Put the main switch where someone naturally enters, then group lights by task: a ceiling fixture for general light, and a separate circuit for a reading lamp. Dimmers must match the lamp and driver. Check compatibility before buying; a mismatch can cause flicker or limited dimming. Plans rarely survive every furniture change.
Plan installation around the room’s actual use. Mark switch locations, outlet access, and ceiling points on a simple floor plan. Ask a qualified electrician to check wiring, circuit capacity, and local requirements before work begins. The U.S. Department of Energy’s Energy Saver guidance reports that LEDs use at least 75% less energy than incandescent lighting. They can last up to 25 times longer. That makes efficient fixtures useful, but only when their controls and placement suit daily routines.
Tips: Photograph wiring and label circuits before work starts. Leave accessible space for drivers and connections, and choose standard control interfaces where practical. Keep a small allowance for future needs. A desk or doorway may move.
| Room or area | Lighting plan | Useful color temperature | Control choice | Installation and upgrade allowance |
|---|---|---|---|---|
| Living room | Combine general lighting with floor or table lamps and focused accent lighting. Separate circuits can make each layer easier to use. | About 2700–3000 K for a warm, relaxed appearance. | A compatible wall dimmer for fixed LED fixtures; smart controls are an optional addition. | Plan switch locations around entrances and seating. Confirm that dimmers and LED drivers are compatible before installation. |
| Kitchen | Use broad, even general lighting and add task lighting over counters or other work surfaces to reduce shadows. | About 3000–4000 K, chosen to suit the finishes and the desired appearance. | Use separate controls for general and task lighting; dimming can help when full brightness is not needed. | Coordinate under-cabinet lighting with cabinet and backsplash plans. Leave access to drivers and connections as required by the installation. |
| Bedroom | Combine general lighting with bedside reading lights, ideally controlled independently. | About 2700–3000 K for a warm evening setting; use a separate brighter task light if needed. | Consider dimming and convenient bedside switching for the main light. | Decide bedside outlet and switch positions before finishing walls. Keep future fixture replacement in mind when selecting mounting locations. |
| Bathroom | Provide general lighting and even mirror or vanity lighting to help limit facial shadows. | About 3000–4000 K; a high color-rendering index (CRI), such as 90 or above, can help colors appear more accurately. | Use separate controls for general and mirror lighting where practical; choose dimming only with compatible equipment. | Select fixtures with ratings suitable for their specific bathroom location and follow local electrical and building requirements. |
| Hallway and stairs | Use consistent general lighting to make routes and changes in level easy to see. | About 2700–3500 K, coordinated with adjacent rooms. | Use multi-location switching where the same light needs to be operated from more than one point. Occupancy sensors may suit some areas. | Plan switching at route entrances and stair landings. Check sensor placement and settings to reduce missed detections or unwanted activation. |
| Home office | Combine comfortable general lighting with an adjustable task light; position fixtures to reduce screen glare. | About 3000–4000 K, adjusted to the task and personal preference. | Provide separate control of the room light and task light; dimming can support different activities. | Plan the desk position, screen orientation, outlets, and task-light placement together. Allow access to replaceable lamps or serviceable components. |
| Exterior entry | Light the doorway and approach while directing light where it is useful and limiting glare. | About 2700–3000 K for a warm appearance; coordinate with nearby exterior lights. | A timer, photocell, or motion sensor can automate operation; choose based on how the entry is used. | Use outdoor-rated equipment appropriate to its exposure. Check sensor coverage, mounting height, and local installation requirements. |
| Whole-home upgrade planning | Favor efficient LED lighting and plan room-by-room layers before choosing fixtures and controls. | Choose color temperature by room and compare products using their stated specifications. | Decide whether controls should be conventional, dimmable, sensor-based, or smart. Check system and device compatibility. | Document circuits and control locations. During renovation, discuss accessible wiring routes and future capacity with a qualified electrician; follow local codes. |
WhatsApp us