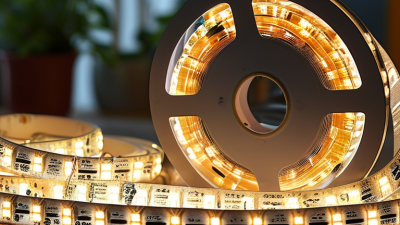
10 LED Strip Buying Tips for Global Buyers
Led Strip projects look simple on a product page: choose a color, select a length, and connect the power supply. Real purchasing decisions are less tidy. A strip installed beneath a kitchen cabinet faces different heat, moisture, and dimming demands than one used in a hotel display or outdoor sign. Small specification gaps can mean uneven brightness, visible color shifts, or costly replacements.
Energy performance matters, but broad lighting statistics need careful interpretation. The International Energy Agency reports that lighting represents about 15% of global electricity consumption and 5% of worldwide greenhouse gas emissions. These figures describe lighting overall, not LED strips alone. The U.S. Department of Energy says LED products use at least 75% less energy and can last up to 25 times longer than incandescent lighting. That comparison is useful context, not a guarantee for every strip, driver, or installation.
Details matter.
For global buyers, the right choice depends on the application, the supplier’s documentation, and how the product will be installed and maintained. Voltage, watts per meter, color consistency, cut intervals, adhesive performance, and compatible controls all deserve scrutiny. So do sample testing, packaging, lead times, and clear warranty terms. A glossy datasheet can still leave questions unanswered. I have seen buyers focus on unit price, then discover that connectors, aluminum channels, or replacement stock change the total cost. Not every project needs the highest specification. The practical challenge is matching verified performance to the real site. These 10 buying tips offer a grounded framework for comparing options, asking better questions, and avoiding assumptions before placing a bulk order.
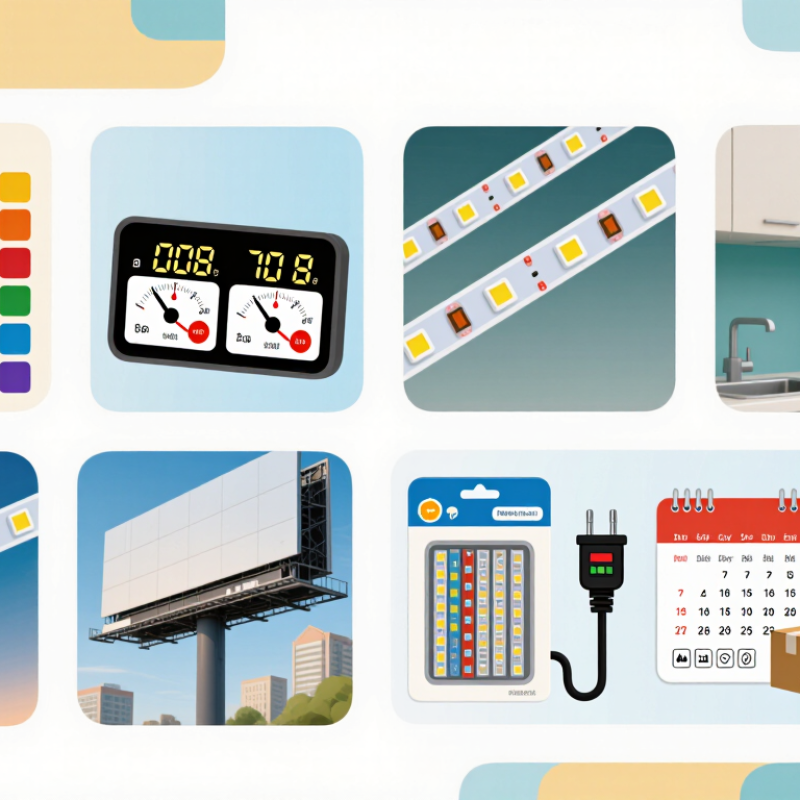
Understanding LED Strip Types, Components, and Key Terms
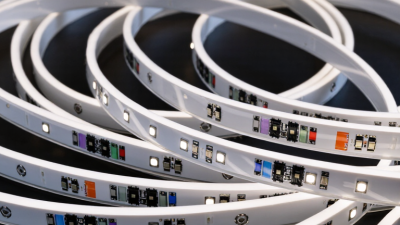
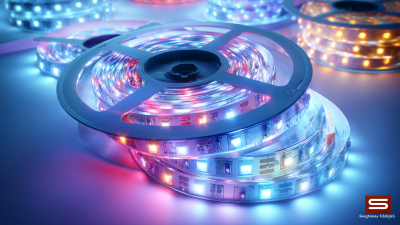
LED strips are not one interchangeable product. Single-color strips suit shelves, signs, and work surfaces where steady light matters. Tunable-white versions shift between warm and cool white, while RGB strips create colored effects. RGBW models add a dedicated white LED, often producing more useful white light than mixed colors alone. Addressable strips let individual sections display different effects, but they need compatible controllers and more setup.
Look closely at the flexible circuit board, LED spacing, and coating. A strip with more LEDs per meter may show fewer dark gaps in a diffuser, though spacing alone does not determine brightness. Check the stated voltage and power per meter before choosing a power supply. Leave capacity for the full run, and account for voltage drop: long strips may look dimmer near the far end. Small detail, big difference. A silicone coating can help resist moisture, but it does not make every strip suitable for wet locations.
Compare lumen output, color temperature (CCT), and color rendering index (CRI), rather than relying on wattage alone. The IP rating describes tested protection against dust and water; inspect the installation conditions behind the rating. Cut marks show where a strip can be trimmed, but cutting elsewhere may damage its circuit. It is easy to focus on a low price and overlook connectors, controller compatibility, or heat management. Those details can turn a simple installation into a frustrating one.
Matching Brightness, Color, Voltage, and Control Options to Project Needs
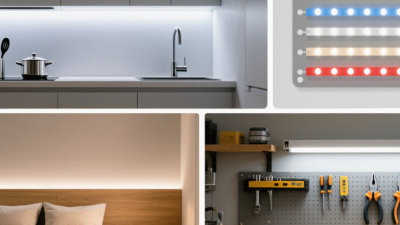
Brightness should match the task, not just the product photo. For a kitchen counter, compare lumens per meter and test the strip beneath the actual cabinet depth. A bright strip can still create harsh dots on glossy stone. Diffusers soften them, but also reduce output. Check color temperature in the room’s evening light; a sample that looks neutral in a warehouse may feel cold at home. Small details matter.
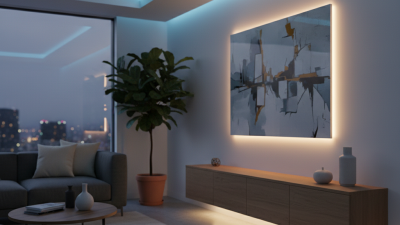
Color options affect both appearance and wiring. Single-color strips suit steady task lighting, while tunable white allows warmer evening scenes. RGB is useful for saturated color, but it may render food or finishes poorly. For more natural whites alongside color, consider RGBW and check the white channel’s output separately. Review CRI when accurate material or skin tones matter. A specification sheet can still leave gaps, so request a sample when color consistency is critical.
Voltage and controls need to fit the installation length. At the same power, 24-volt strips often reduce visible brightness loss over longer runs compared with 12-volt versions. Still, measure the route and confirm feed points with the supplier or installer. Match the controller to the strip type, power supply, and intended dimming method. Wireless range, app setup, and compatibility deserve a real test. I would not assume two “smart” components work together just because both use the same network.
Checking Installation Conditions, Durability, and Safety Certifications
Before comparing price, check where the LED strip will actually go. A strip under a kitchen cabinet faces grease, warmth, and frequent cleaning; one outdoors must handle moisture and temperature changes. Match its protection rating to the real exposure, not just the product photo. Measure the run, locate the power supply, and confirm the strip’s voltage and maximum connected length. Long runs can dim near the far end. Small detail, big difference.
Durability depends on more than a thick-looking coating. Ask about operating temperature, expected service life, and resistance to UV exposure if sunlight reaches the installation. Inspect the backing too: dusty paint, textured tile, or a warm surface can weaken adhesive. For a long or overhead installation, plan mechanical support where appropriate. I would not trust adhesive alone without testing a short sample first.
Check safety documents for the exact strip and power supply models you intend to buy. Requirements vary by destination market, so confirm which recognized marks and test reports apply there. A logo on a listing is not enough; model numbers should match the paperwork. Verify electrical ratings, insulation details, and instructions for cutting or connecting the strip. Even careful buyers miss this. Ask the supplier to clarify any mismatch before ordering, and keep the documents with your purchasing records.
Evaluating Manufacturers, Samples, and Production Quality
A dependable LED strip purchase starts with clear specifications and careful supplier evaluation. Ask manufacturers for the PCB width, copper thickness, LED spacing, color temperature tolerance, and rated power per meter. Request recent production photos and inspection records, not only polished catalogue images. Check whether the supplier can explain its incoming component checks, soldering controls, and traceability process. Specific answers matter. Vague promises do not.
Tip: Order samples from the intended production line. Compare several strips under the same power supply and lighting conditions. Check color consistency, brightness, adhesive grip, and voltage drop near the far end. Leave a sample running for several hours, then inspect for flicker, uneven color, or unusual heat. A bright sample can still mislead. Ask for written test limits, such as acceptable color variation and operating temperature.
Before approving a bulk order, confirm that the sample’s LEDs, PCB, coating, connectors, and packaging match the production specification. Request a pre-shipment inspection plan and agree on how defects will be documented. If available, review aging-test results and electrical test records for the same product type. Small differences can matter. One imperfect detail is easy to overlook: a sample may use stronger adhesive than the final batch. Tie acceptance criteria to measurable checks, and keep a signed reference sample for comparison.
10 LED Strip Buying Tips: Verify the IP Water-Rating Claim
Use the same documented water-ingress test when assessing a manufacturer’s samples and checking production quality. In an IP code, “X” means the dust-protection rating is not specified.
The bars show the water-protection digit in each rating, not a quality score. Under IEC 60529, IPX4 covers splashing water, IPX5 water jets, and IPX7 temporary immersion. IPX8 applies to immersion under conditions agreed between the manufacturer and user. Request test documentation for the rating relevant to your installation.
Comparing Total Costs, Shipping, and After-Sales Support
A low unit price can hide a higher landed cost. Compare the strip price with power supplies, connectors, installation accessories, packaging, and any testing fees. Ask for a written quotation that states quantities and specifications, including voltage, LED density, and waterproof rating. Small fees add up. Check whether the quote includes delivery, insurance, and import charges, or only transport to the port. Those details can change the real budget.
Shipping affects both cost and project timing. Request the packed carton dimensions and gross weight, not just the product weight. Freight is often charged by volume, so a light but bulky carton may cost more than expected. Confirm the estimated dispatch date, transit time, tracking process, and how delays are communicated. Leave room for customs processing and receiving inspections. I have found delivery estimates easy to misread when production time is listed separately.
Tips: Before ordering, compare at least two shipping options and ask what happens if cartons arrive damaged. Get the warranty period, claim steps, and response timeframe in writing. Check whether replacement parts or troubleshooting support are available after installation. Keep photos, labels, and order records. Support terms can sound clear until a fault appears, so test a small batch first when practical.